Get Started
1. Approval
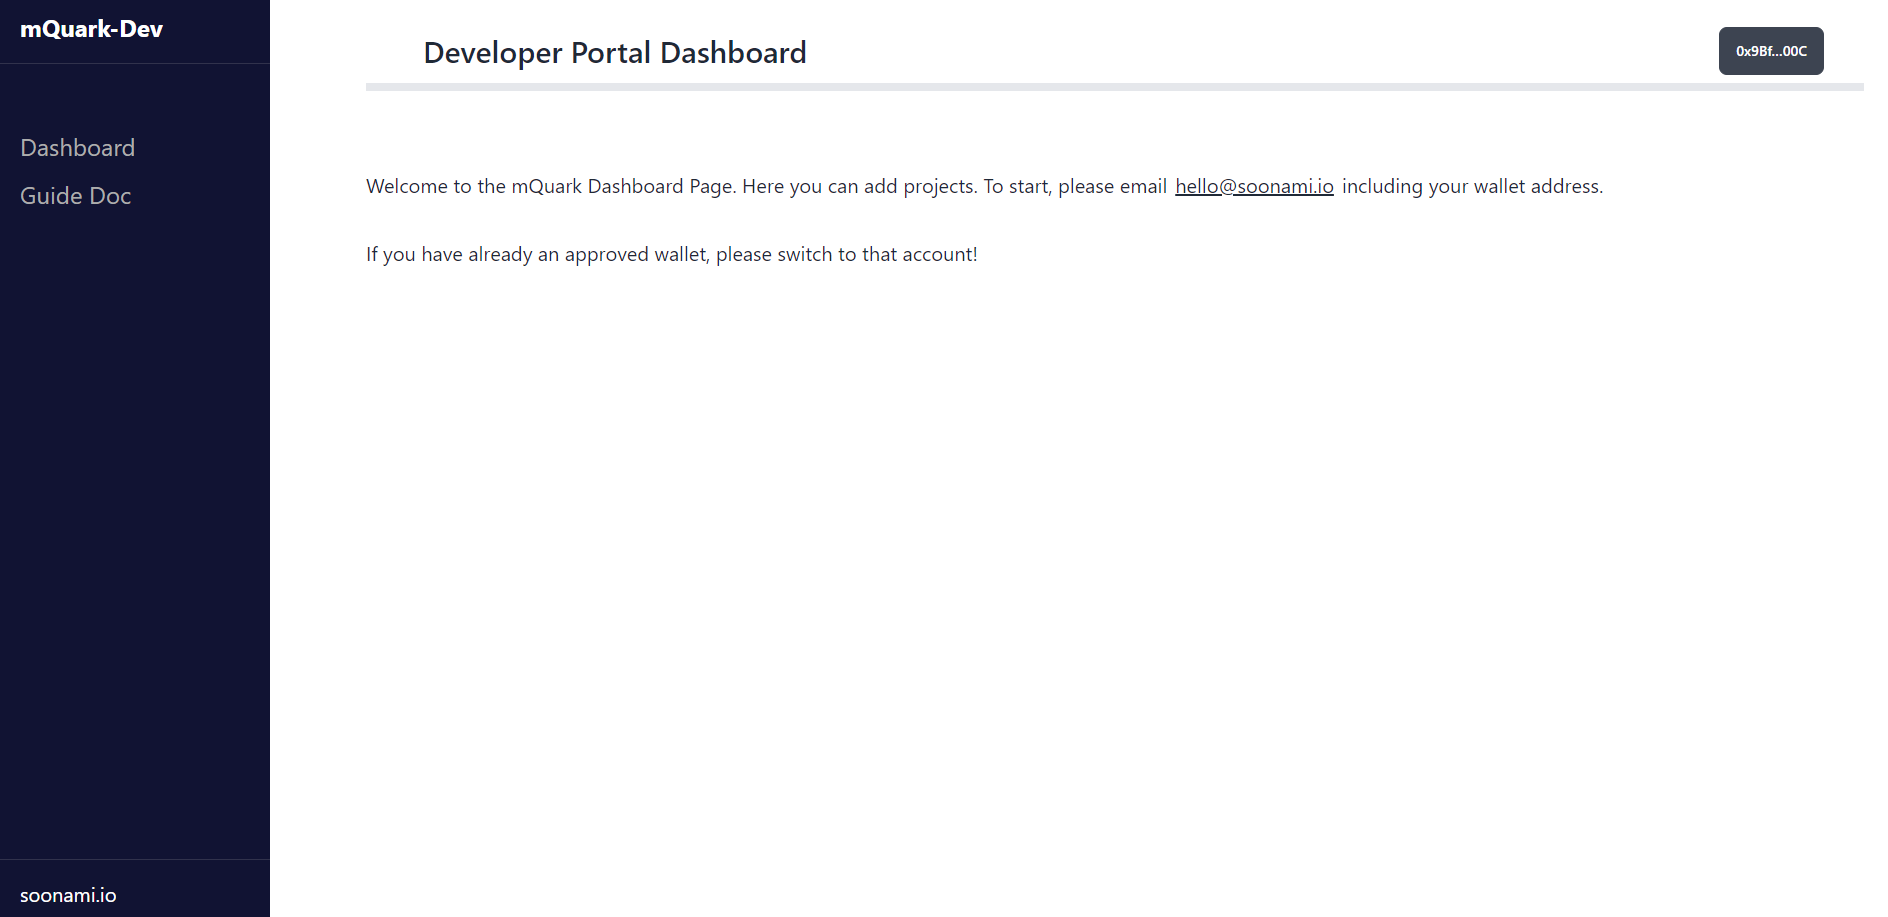
First, to use mQuarks in your project, it is required to have your wallet address approved by the soonami team. (This is necessary to prevent smart contract abuses). Please email approval@soonami.io with your wallet address and a sentence describing your purpose. This may take up to 24h, where you will have to wait for an alert showing approval success. After you enter the portal, you are going to see a page like the one below:
This section will be updated soon!
 [Figure 1.1]
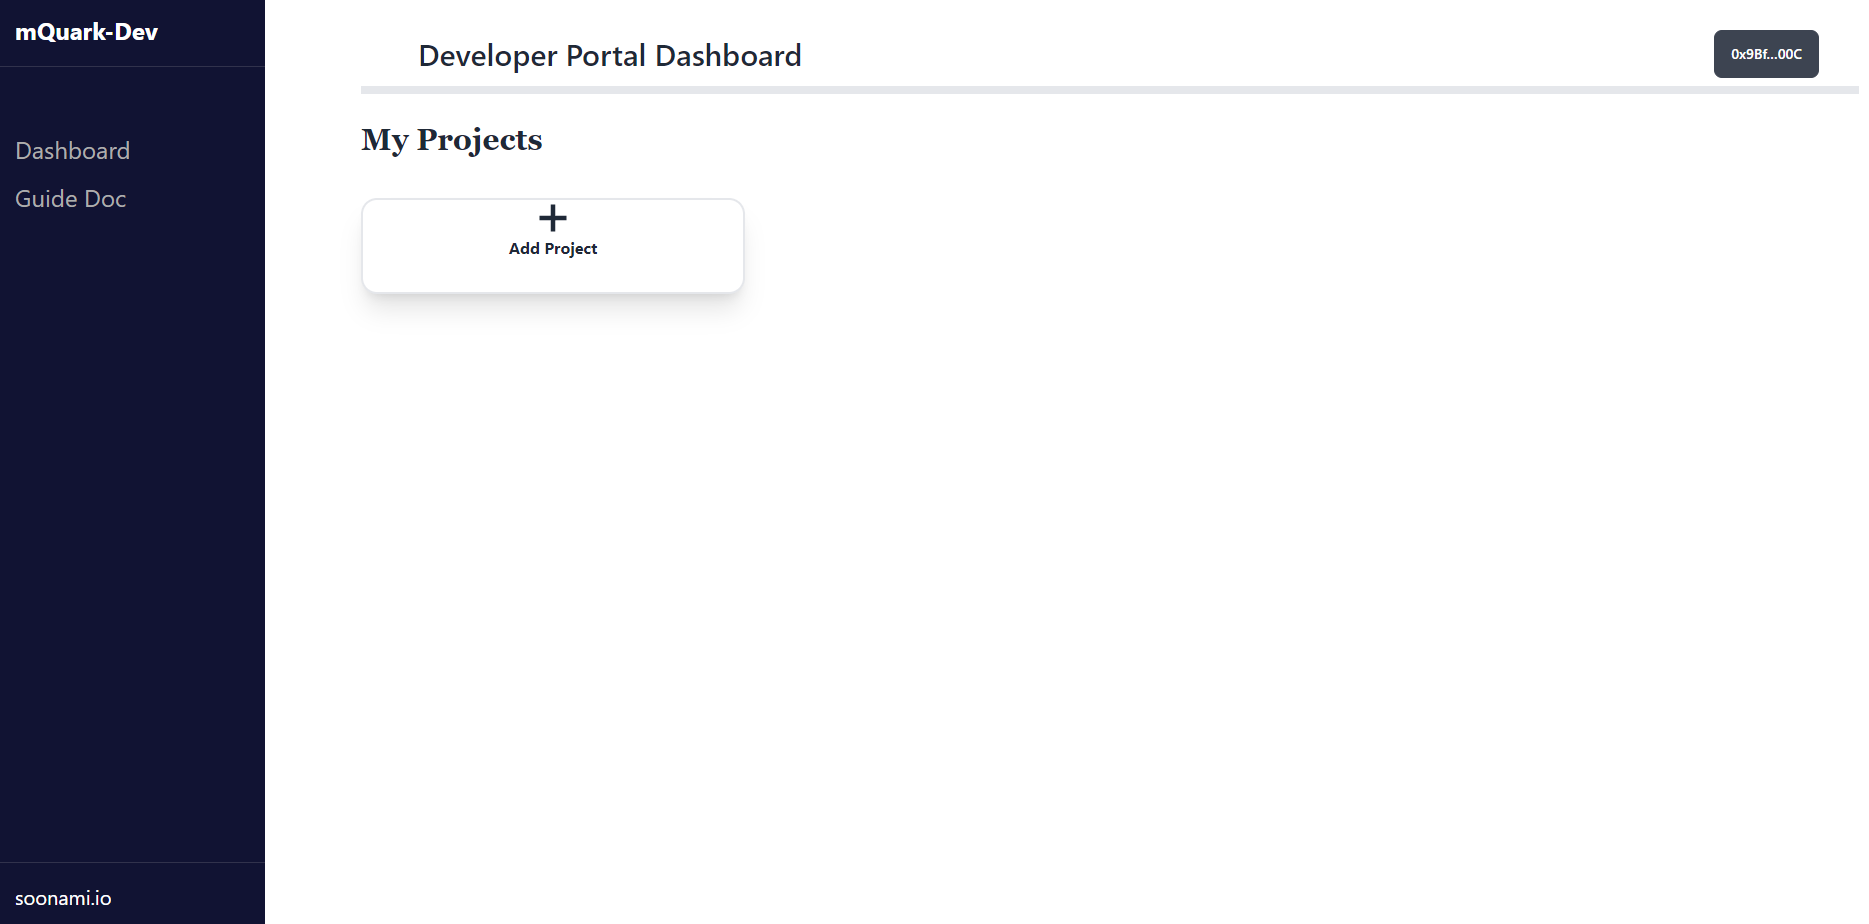
After the wallet approval, you will be informed via email and in-app alert, and if you are approved, you will see that the “Add Project” button is available for your wallet.
 [Figure 1.2]
2. Create an mQuark Project
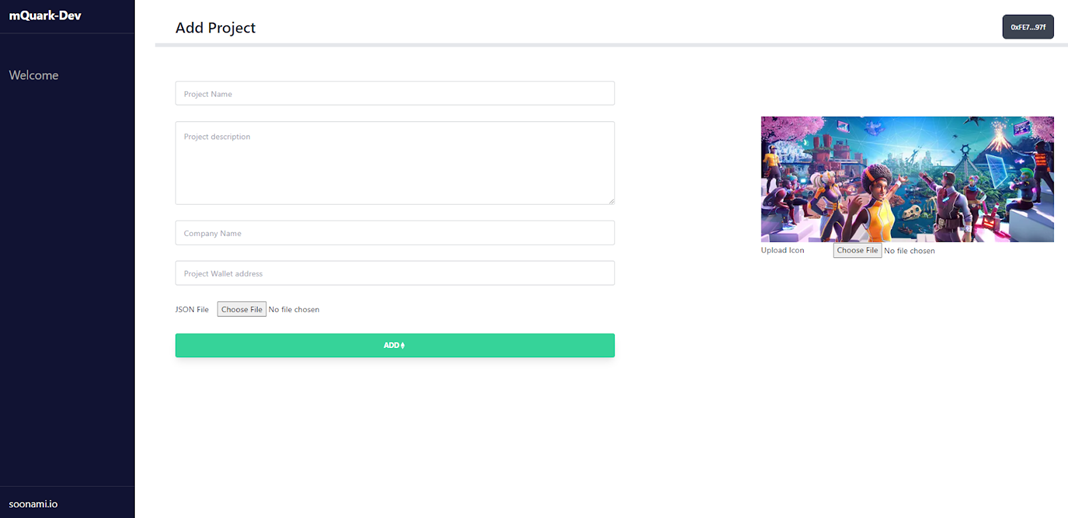
After clicking “Add Project”, you will see this page:
 [Figure 2.1]
This will set up the project space for your business, game or metaverse and houses all your NFT collection categories. Adding a project is a blockchain transaction, requiring some MATIC as a fee. Every time you see the MATIC logo, it should be understood that the interaction will need MATIC from you to pay as a fee. Here you should enter and upload:
- Project Name - this is going to be your project name
- Project Description - This will be your project description, and it can be helpful for other projects and end-users
- Company Name - This is the name of your projects managed by whom.
- Project Wallet Address - this wallet address will be the key to your account in the contract.
- Default Metadata file (JSON) - This file will be uploaded to decentralised storage as immutable. When end-users would like to open a metadata slot for your project, their initial metadata of the slot will point to this URI. Perhaps you want to add copyright information for example. Upload icon - A JPEG or PNG formatted image representing your project or a logo.
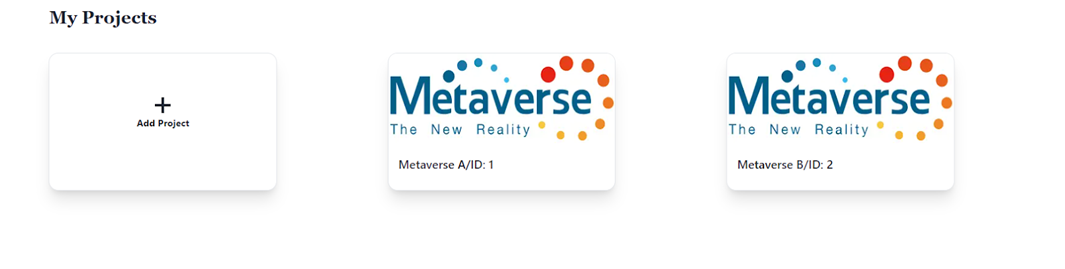
These will be saved on the Smart Contract - visible and immutable. After sending the transaction and returning to the dashboard page, you should see your project has been created.
 [Figure 2.2]